A Photography Lighting Study Using Window Light
 Using window light and some low cost light modifiers is an easy way for you to explore and craft lighting for a table top still life set up. If you don’t have lighting equipment you can do this! Experiment and you will be able to dramatically change the look of your photos. This exercise is great for anyone who wants to refine their lighting skills. It gives you ideas, confidence and experience to work anywhere. Let’s look at some easy and surprisingly dramatic differences made by modifying light with simple changes.
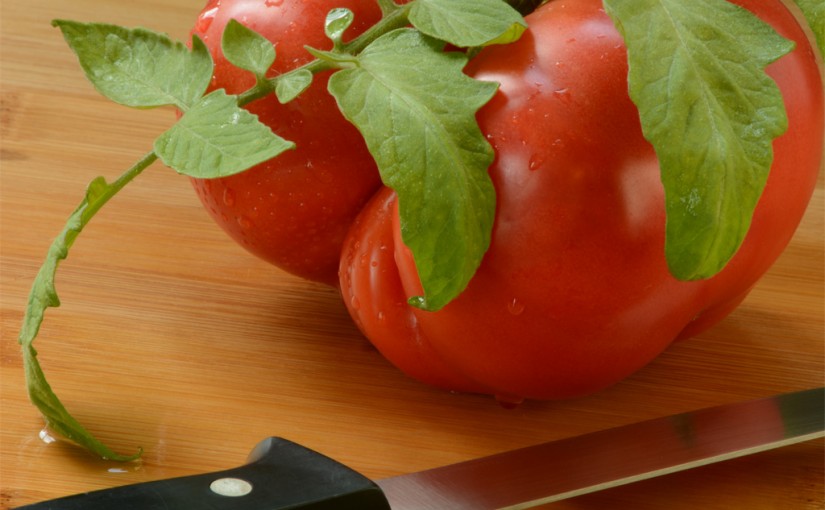
For my example this tomato caught my eye weeks ago. Today I discovered it was the first to ripen in my garden! The shape of it was interesting to me and I felt that showing just part of it emphasized what I found to be unique about it. I also wanted to evoke the thoughts, feelings and maybe flavors of tomatoes fresh from the garden. It seemed that placing a freshly washed tomato on a cutting board with knife would encourage the viewer think about cutting and tasting it. The green leaves added a complementary color to scene (green and red) while reinforcing the “fresh from the garden” idea.
The behind the scenes photo shows you how to set up the shot. Note the camera is on a tripod to make composing precise and it gives you the ability to take the same photo with slight adjustments to see the difference. Also the scene may seem bright to your eyes, but to a camera using a small aperture/ high f number (for maintaining focus throughout the scene) it will need a shutter speed longer than can be hand held. If you also use a remote trigger or your camera’s self timer it will free your hands to hold a light reflector. For any photo labeled “mirror camera left,” I stood next to my scene to the right of the camera and used a small mirror to reflect light onto the tomato then pressed my remote to take the photo.
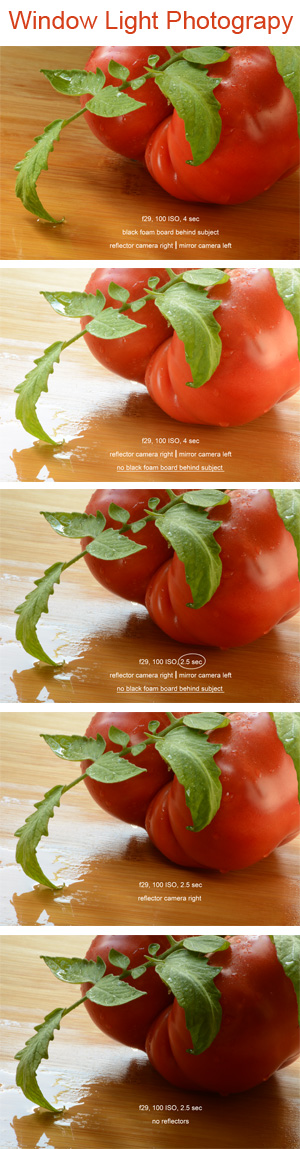
 The black foam board behind the subject helps you control how or where the light enters the scene. It allows the light to wrap around the subject with side and backlighting. For comparison you can see how the light affects the scene without it. Also as you can see without reflecting light back into the front of the scene the subject becomes dark.
Take some time to look at the differences in these photos, but more importantly do this yourself! You will learn the most that way. Find a window with bright light that doesn’t directly shine through the window. Choose a subject and start experimenting and learning. I’d love it if you tell me what you notice from your experiences in the comments below.
To receive email updates with tips and tutorials, please sign up here:
Hi Cheryl,
I am supposed to be introducing you at the NFRCC seminar on Friday night. However I have been unable to obtain a real bio. for you from either the NFRCC or your web site. Can you please forward one to me before Friday.
Ciao,
Rob
Hi Rob, Thank you for contacting me and being my host at the Expo! I sent you an email with a more complete bio. Let me know if you didn’t get it.